It was a relief to be fighting on the long edge of the table. No cramped quarters this time!
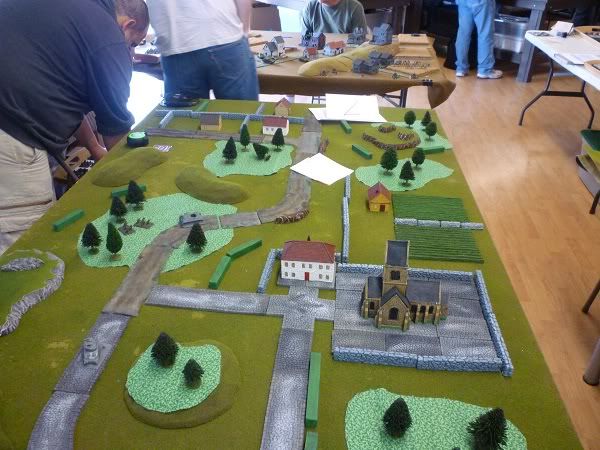
Eric and I rolled to see who’d get to choose what side of the table and Eric won. In fact, I don’t believe I won any of the die rolls to pick what side of the table I wanted. It didn’t matter in this case because I had plenty of room to deploy and maneuver. Bill W provided the terrain for this table. I particularly liked the big church on my side of the table. It was the perfect spot to place an observer, which I did.
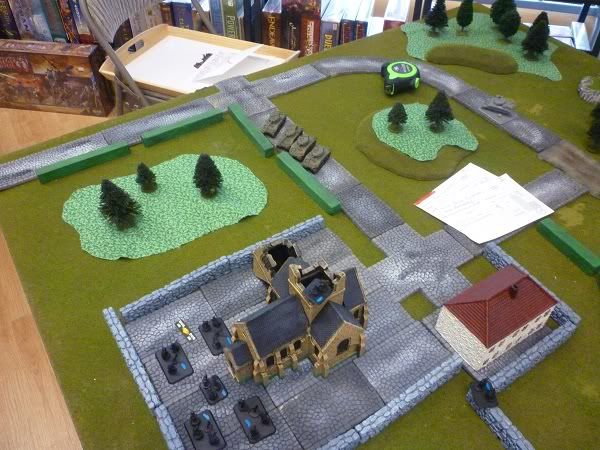
The Big Church and my side of the table
Eric’s force is a blur to me. I took a quick glance at it to see many platoons of paras, a battery of 105mm artillery, an AOP spotter plane and Brit Guards support of 2 Shermans and 2 Fireflys. Eric gave me a sheepish smile when he placed the AOP on the board and said I was going to hate him. I laughed and then wondered if this game was going to be a repeat of artillery hell from Game 1.
Eric places an objective on the right flank (his left). I place an objective in the middle of the table and an objective on the left flank. My objective placement plan is to try to get Eric to spread his forces out across the table to contest each objective. The plan works. Plus, Eric has placed his objective on the right flank. In Fighting Withdrawal, the Defender’s objective cannot be removed from the table, whereas the other two objectives can be during certain game turns. Bill W later comes over during the game and tells Eric that the Defender’s objective should ALWAYS go in the center of the table. Since the Defender’s objective can’t be withdrawn, his entire force will be able to contest and support a center objective instead of being on the far side of the table.
Eric's deployed army and objectives
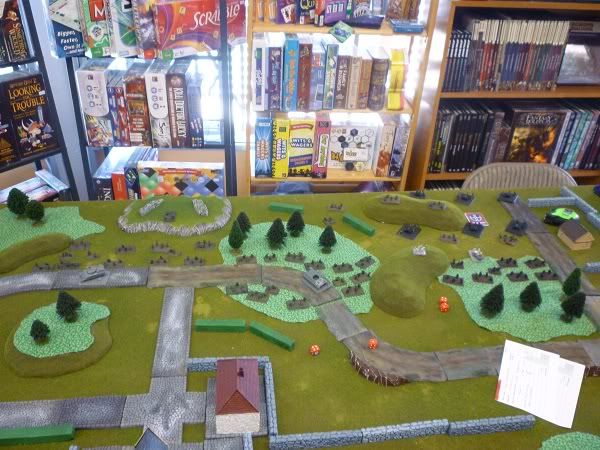
Eric placement of his objective makes my decision for deployment. I loaded my right flank. All the Jagdpanthers, the 3 StuGs with Noak and the Yellow Grenadiers are placed on my right. Mortars went behind the church on the left flank and Red Grenadiers held down the center of the table.
The 654th Overloads the Right Flank
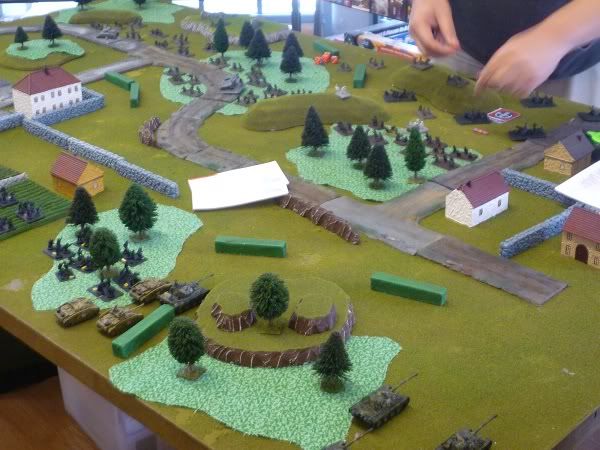
Everybody rushes forward, including the Yellow Grenadiers who try to make it to the woods. I didn’t drop smoke or anything and they get caught in the middle by artillery and infantry fire from Eric’s troops on the hill. They get cut down, suffer casualties and stay pinned. The CiC and 2iC go wide right towards the stone walls and hamlet. The 3 StuGs, Jagdpanther platoon and Noak aim for the crossroads and the artillery behind it.
One of the keys to game happens at this point.
Eric shifts a platoon of paras out of the woods to block crossroads. I open up with main gun and machine gun fire from any vehicle that had an open LOS on the infantry stands in the open. Maybe Eric was worried about the 2iC and CiC doing a Hail Mary around his left flank. I don’t know, he never said and I never asked. Or maybe he just wanted to block the crossroads from a quick dash to his artillery.
Eric's platoon shifts to block the crossroads
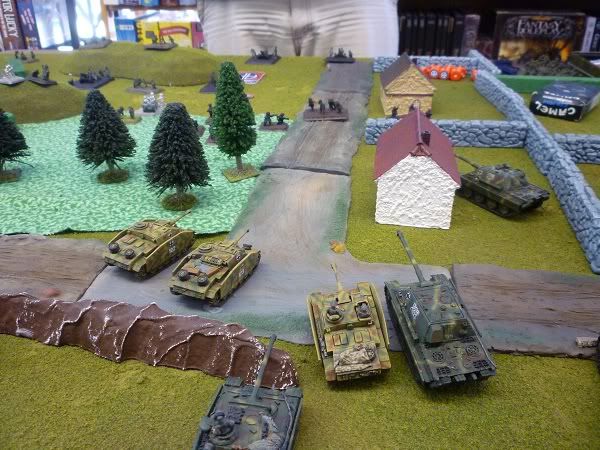
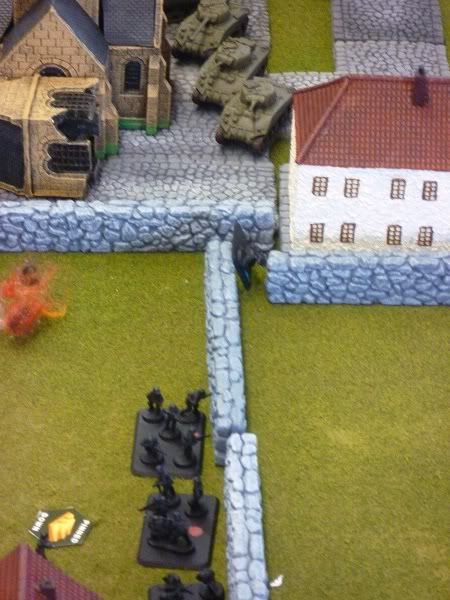
Also, Eric took a long time to decide where to deploy his ambush of Guards support of 2 Shermans and 2 Fireflys. I think where I had positioned the CiC and 2iC Jagdpanthers, taking up most if not all the space on my right flank in the hamlet prevented him from springing the ambush. The crossroads was covered by the 3 StuGs and Noak, while the other two Jagdpanthers had the artillery covered along with the hill top. No matter where he put the ambush on that side of the table, he’d be taking fire from two different directions. Instead, he chose to deploy the ambush on my far left flank, across from the mortars. The 4 tanks, after several turns, roll up the Red Grenadiers. The Red Grenadiers were amazing in the amount of punishment they took before dying to the last man. In two separate turns, they made 8 saves. In another turn, they rolled off another 4 saves. Eric was rolling his eyes, shaking his head and muttering in amazement about the Red Grenadiers making 20+ saves. The staff team of Red Grenadiers is eventually alone and defiant, firing its Luger pistol at the British armor before it’s gunned down.
Eric's Guards ambush revealed and mortars are wondering what they got themselves into
Red Grenadiers showing their staying power
In any event, after three turns of maneuvering and bog checks, the armored vehicles crash into the crossroads platoon and destroy it. Units not involved in the assault, take pot shots at the artillery and knock out a gun. After the infantry is wiped out, the armored vehicles take revenge on the artillery by assaulting and running them into the ground. I joke with Eric about the vehicles are getting pay back for what the artillery did to them in Game 1 by driving back and forth over the broken guns and crew.
Assault ready to go in
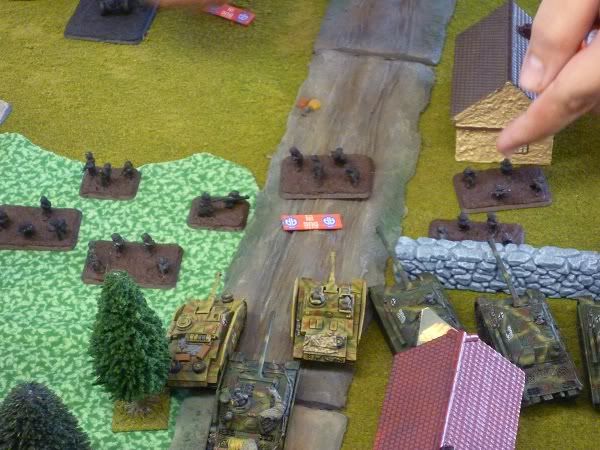
Clearing the crossroads
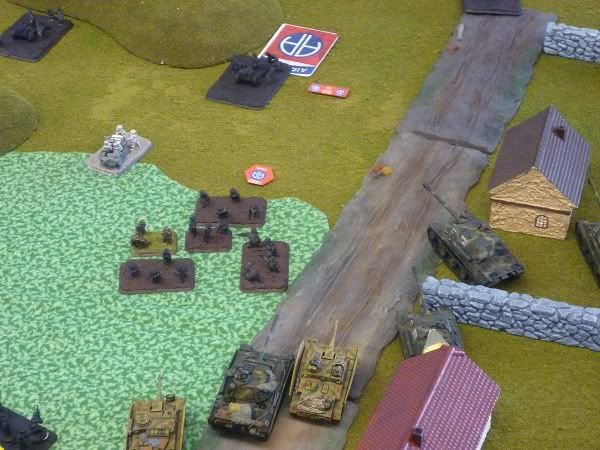
Die Arty Die!!
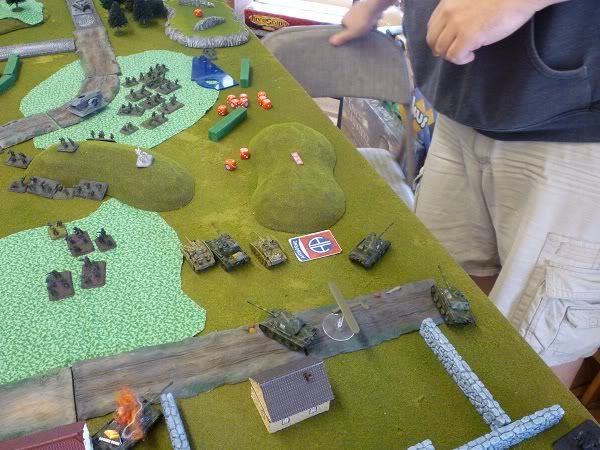
This is where I am thinking I have the game won at 6-1. The crossroads platoon and artillery battery is dead and nothing near the objective. However, Eric in a smart tactical move has been shifting his infantry across the board, double timing on the road because that’s one of the paras special abilities, to get over to contest the objective. Just as I clear the artillery away from the objective, paras come out of the woods, which I assault, lose a few vehicles and then the next wave comes up over the hills. I only have 2 Jagdpanthers and Noak left, not nearly enough to win an assault against veteran paras with sticky bombs and bazookas. They all die and it’s game over.
The game is ours!
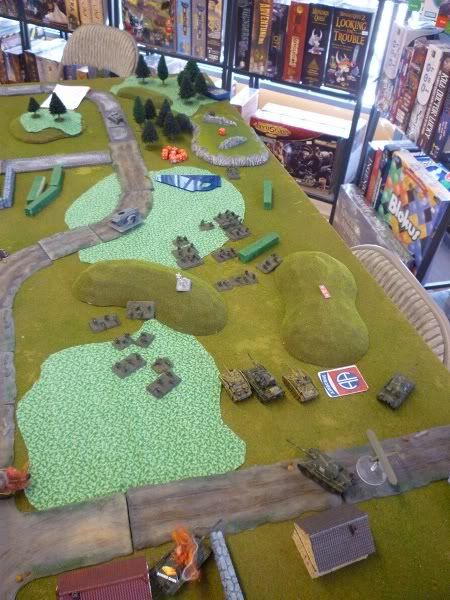
Or maybe not...
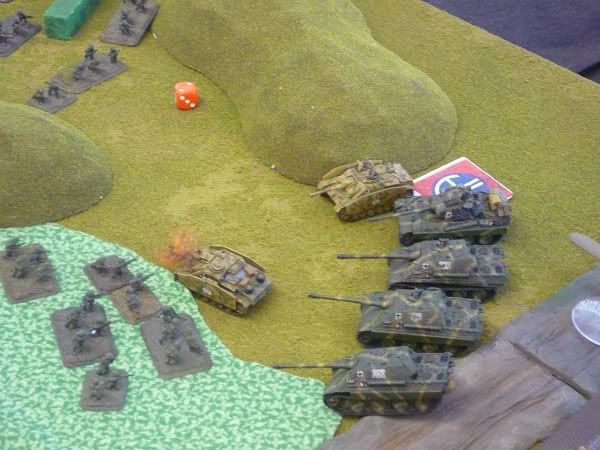
Eric and I nearly took 2 hours to finish the game, nearly exhausting the 2 ½ hour time limit. Tim continually reminded us of our time. It wasn’t to pressure into playing quicker, just to make us aware of how much time was remaining. We were the last game to finish before Game 3.
The bitter end
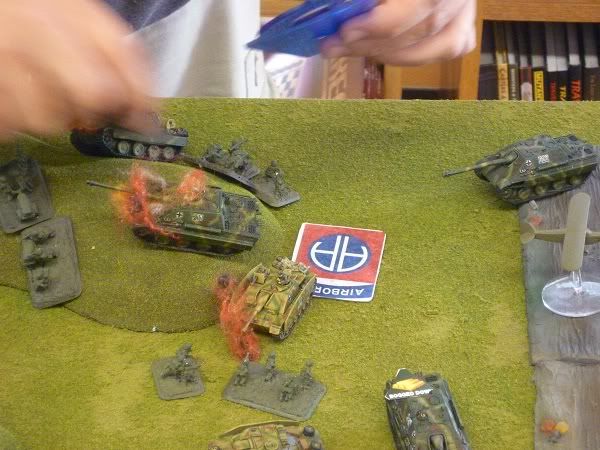
It’s the most exhausting game of FOW I’ve ever played. I sat down for 10 minutes and walked around for another 10 because my knees ached and to get the circulation going again. I guzzled a bottle of water in 30 seconds. The game was back and forth. Every assault went three or four rounds and usually concluded when a unit was wiped out instead of it breaking off. Every unit that could shoot was brought into the fight near the contested objective. My head was pounding afterwards. An awesome game!
Result: Loss, 3-4
Lessons: I am thinking I should have had a more menacing force on the left flank to pin down a portion of Eric’s forces. It would have kept Eric honest and likely stopped him from sending all his forces on a pell mell rush to the threatened objective. Perhaps the 2iC and Red Grenadiers pushing up the left might have provided a good distraction. Eric maneuvered his infantry very well in assaults. Jagdpanthers lacking a turret really reduces the defensive fire available to pin an assaulting force. I need to learn how to position the Jagdpanthers for mutual fire support instead of stacking them road wheel to road wheel in a line. Looking at the picture I should have backed up past the objective, still within range to contest and force Eric's infantry to charge across open terrain. I also forgot to use my mortars in support of the advancing Yellow Grenadiers by laying down a smoke screen and they suffered for it. Finally, I didn’t reposition the Red Grenadiers to counter Eric’s revealed ambush. I should have dug them in and prepared to assault the tanks. Instead, they just stood there and took hit after hit after hit.
Dice: No complaints. Red Grenadiers were very lucky with their saves. My luck evened out in other areas of the game and Eric’s dice betrayed him with a bad saves early on but he made up for it with good assault rolls in the latter stages of the battle.
Sportsmanship: Eric is another great opponent. He patiently took the lead in explaining the assaulting rules, which is admittedly one of the weak points in my understanding the FOW rules. I learned a lot watching Eric maneuver his infantry to the sides of the Jagdpanthers to reduce the defensive fire from my units. It was a neat trick to see, even though I was on the receiving end of his good infantry tactics. I gave Eric “3” for Sportsmanship, the highest score I gave to my three opponents for the grueling and fun battle.
Platoon of the Match: Red Grenadiers. They made 20+ saves versus Eric ambushing Guards platoon, staying alive and keeping it busy and off the flank of my tanks.
Next up, Game 3 versus Hugo’s 21st Panzer
Wow! I was reading this whole AAR thinking you had won this match. One thing is for sure. Para's are tough bastards. :)
ReplyDeleteI bet the lack of having both hull and coax mg's hurt you in this game. Just not enough lead to keep those paras out of assault.
Hey R!
ReplyDeleteYeah, I thought I had this one in the bag. Counted the chickens before they came home to roost for a 6-1. LOL
Eric maneuvered his paras well in the assaults, cut down on the hull MG fire. Yes, a coax MG would have been very nice. =)